Blog
How to digitize Embroidery Designs: DST and PES Files
Hey there! If you’re interested in embroidery and want to learn about digitizing your own embroidery designs, you’ve come to the right place. Embroidery has come a long way from the traditional hand-stitched designs. With the advent of technology, we can now digitize designs and easily transfer them onto our embroidery machines. This allows us to create intricate and professional-looking embroidery patterns with ease.
What is digitizing embroidery?
Benefits of digitizing embroidery designs
Understanding DST and PES Files
Difference between DST and PES Files
Embroidery Digitizing Software: Wilcom, Hatch, Embrilliance
Features to look for in embroidery design software
Steps to digitize embroidery designs for DST and PES files
Digitizing Techniques and Tips
Troubleshooting and Quality Control
What is digitizing embroidery?

Source: ONEmbroidery.com
Digitizing embroidery is the process of transforming artwork or designs into digital files that can be read and stitched by embroidery machines. It involves creating a digital representation of the design by assigning stitch types, density, and sequence of stitching.
As someone who is passionate about embroidery, I find digitizing embroidery extremely exciting. It allows me to take my creative ideas and bring them to life with the help of technology. Instead of spending hours hand-stitching a design, I can now create intricate patterns with just a few clicks.
The digitizing process begins with a design or artwork that I want to embroider. This can be a graphic file or even a hand-drawn sketch. I then use specialized software to convert this design into a digital format that the embroidery machine can understand. This involves manually tracing the outlines of the design and assigning stitches to different areas.
One of the key benefits of digitizing embroidery is the ability to achieve precise and consistent stitching. The digital format ensures that each stitch is placed exactly where it needs to be, resulting in clean and professional-looking embroidery. It also allows me to make adjustments to the design, such as resizing or modifying stitch densities, with ease.
By digitizing embroidery, I have the freedom to experiment with different colors, textures, and stitch types, opening up endless possibilities for my embroidery projects. Whether I want to create custom designs for clothing, home decor, or personalized gifts, digitizing embroidery gives me the flexibility to bring my imagination to life.
In conclusion, digitizing embroidery is an exciting and innovative way to create beautiful and intricate embroidery designs. It allows me to combine my love for embroidery with the convenience and precision of technology. I highly recommend exploring the world of digitizing embroidery for anyone who wants to take their embroidery skills to the next level.
Benefits of digitizing embroidery designs
Source: ONEmbroidery.com
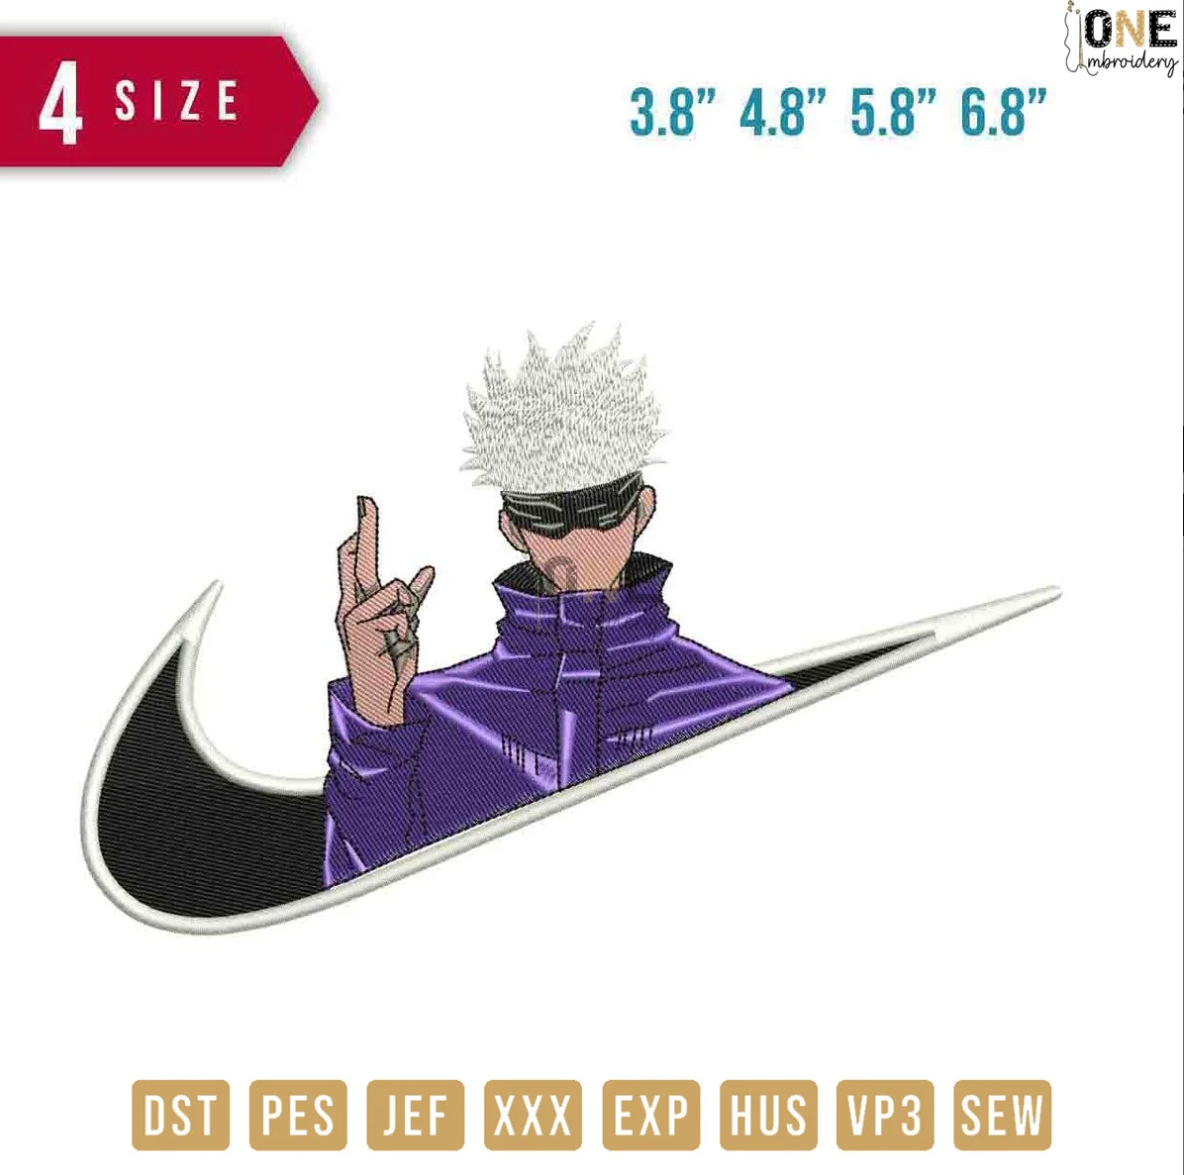
Digitizing embroidery designs offers numerous benefits that can enhance your embroidery projects. Here are some of the advantages of digitizing embroidery designs:
- Accuracy and Precision: With digitizing, you can achieve precise and consistent stitching. The digital format ensures each stitch is placed exactly where it needs to be, resulting in professional-looking embroidery.
- Time and Efficiency: Digitizing saves you significant time compared to hand-stitching. Once the design is digitized, you can easily replicate it on multiple items without having to recreate it from scratch.
- Customization: Digitizing allows for easy customization and personalization. You can create unique designs by manipulating stitch types, densities, and colors to match your specific preferences or the requirements of your project.
- Flexibility: Digitizing embroidery designs provides you with the flexibility to resize, rotate, and modify the design easily. You can experiment with different placements and orientations to achieve the desired effect.
- Endless Design Options: With digitizing, you have a vast array of design options at your fingertips. From intricate patterns to complex logos, you can transform any artwork or image into an embroidery design.
- Increased Production: Digitizing embroidery designs enables faster production rates for large quantities of items. You can create multiple designs and stitch them simultaneously, maximizing efficiency and productivity.
- Professional Results: Digitizing ensures that your embroidery projects have a consistent, professional finish. By utilizing the precise stitches and densities in the digital format, your designs will have a polished and high-quality appearance.
- Ease of Editing: If you need to make any changes to your design, digitizing allows for easy editing. You can make adjustments to stitch densities, colors, and even completely modify the design without starting from scratch.
- Versatility: Digitized embroidery designs can be used on a variety of fabrics and materials. Whether you’re working with delicate fabrics or tough textiles, the digitized design can be adapted to suit different materials.
- Increased Creativity: Digitizing opens up a world of creativity, enabling you to experiment with different textures, stitch types, and color combinations. You can bring your imagination to life and create truly unique and stunning embroidery designs.
In conclusion, digitizing embroidery designs offers a range of benefits that can take your embroidery projects to the next level. From increased precision and efficiency to unlimited design options and customization, digitizing allows you to unleash your creativity and achieve professional results. So, embrace the world of digitizing and elevate your embroidery game!
Understanding DST and PES Files

Source: ONEmbroidery.com
When it comes to digitizing embroidery designs, it is essential to have a good understanding of the file formats commonly used in embroidery machines, particularly DST and PES files. Both file formats are widely recognized and used by embroidery machines from various manufacturers.
DST, which stands for Data Stitch Tajima, is a file format developed by Tajima, one of the leading producers of industrial embroidery machines. DST files are compatible with most embroidery machines and are widely used in the industry. The DST format represents the design as a series of stitching commands, specifying the type, length, and color of each stitch.
On the other hand, PES, which stands for PE-Design, is a file format developed by Brother Industries, a prominent manufacturer of embroidery machines. PES files are specific to Brother machines but can be converted to other formats if needed. PES files contain the design information for the embroidery machine, including stitch types, thread colors, and direction.
It is important to note that different embroidery machines may require specific file formats, so it is crucial to check the compatibility of the file format with your machine before digitizing. Additionally, it is recommended to save your digitized designs in multiple file formats to ensure compatibility across different machines.
To convert your digitized designs into DST or PES files, you will need embroidery design software that supports these file formats. The software will allow you to make any necessary adjustments and convert the designs into the appropriate file format for your embroidery machine.
By understanding DST and PES files and their compatibility with your embroidery machine, you can ensure that your digitized designs are ready for smooth and successful stitching.
Overview of DST and PES file format
 Source: www.machineembroiderygeek.com
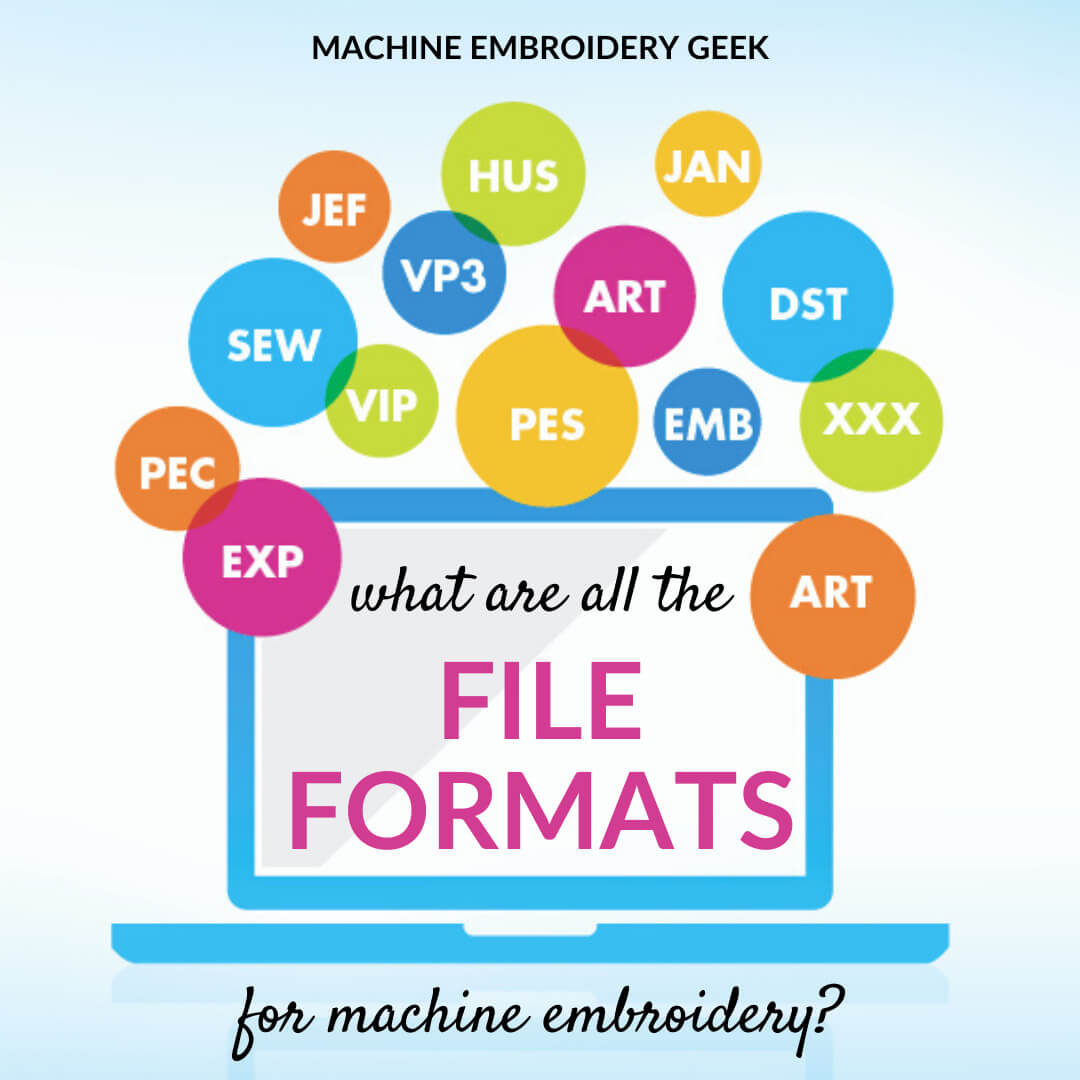
| Feature | DST File Format | PES File Format |
|---|---|---|
| Full Name | Data Stitch Tajima | Brother Embroidery Format |
| Developed By | Tajima | Brother |
| Purpose | Contains stitching commands for machine embroidery | Contains stitching commands for machine embroidery |
| Compatibility | Works with most embroidery machines including non-Tajima brands | Primarily for Brother embroidery machines, but can be converted for use with others |
| File Creation | Created through digitizing with design software | Also created through digitizing with software |
| File Extension | .dst | .pes |
| Advantages | Highly compatible; compact size; supports efficient production | Can store multiple designs in one file; supports a variety of detailed stitch types |
| Use Case | Used by embroidery enthusiasts and professionals worldwide | Popular among Brother machine users; suitable for multi-color/part designs |
In essence, both DST and PES are essential file formats in the embroidery industry catering to different machine types while offering unique benefits. The DST format is valued for its broad compatibility and efficiency, facilitating professional embroidery across diverse machines. Meanwhile, the PES format is tailored for Brother machine users, emphasizing the storage of complex, multi-faceted designs and intricate stitching options. Understanding each format is crucial for producing high-quality, precise embroidery work.
Software for Digitizing Embroidery Designs

When it comes to digitizing embroidery designs, having the right software is essential. There are several software options available that can help you create and edit embroidery designs in the DST and PES file formats. Here are some popular software options for digitizing embroidery:
- Wilcom EmbroideryStudio: This professional-grade software offers a comprehensive set of tools for digitizing embroidery designs. It allows you to create intricate designs with ease and provides advanced features for editing and customizing stitch types, colors, and densities.
- Hatch Embroidery: This user-friendly software is suitable for both beginners and experienced embroiderers. It offers a wide range of design options and provides step-by-step tutorials and video guides to help you learn and improve your digitizing skills.
- Embrilliance Essentials: This software is known for its simplicity and affordability. It offers basic digitizing features and allows you to easily convert designs between different file formats. Embrilliance also has a helpful online community where users can share tips and support each other.
Features to look for in embroidery design software
When choosing embroidery design software, there are several important features to consider. These features can greatly enhance your digitizing experience and make the process more efficient. Here are a few key features to look for when selecting embroidery design software:
- Compatibility: Ensure that the software is compatible with your embroidery machine. Different machines support different file formats, so check if the software supports the DST and PES file formats commonly used in embroidery.
- User-Friendly Interface: Look for software with an intuitive interface that is easy to navigate. A user-friendly interface will make it easier for you to create and edit your embroidery designs.
- Design Capabilities: Consider the design tools and features offered by the software. Look for options that allow you to customize stitches, colors, and densities. Advanced editing capabilities can greatly enhance the quality and complexity of your designs.
- Editing Capabilities: It is important to have the ability to edit and modify your designs. Look for software that allows you to resize, rotate, and mirror your designs. Some software even offers features like automatic image tracing and appliqué creation.
- Customer Support: Check if the software comes with reliable customer support. Having access to help and assistance when needed can greatly simplify the digitizing process and help you overcome any challenges you may face.
- Cost: Consider the cost of the software and whether it fits within your budget. Some software options offer free trials or demos, allowing you to test the software before making a purchase.
By considering these features, you can select embroidery design software that suits your needs and preferences, making the digitizing process easier and more enjoyable.
Digitizing Techniques and Tips
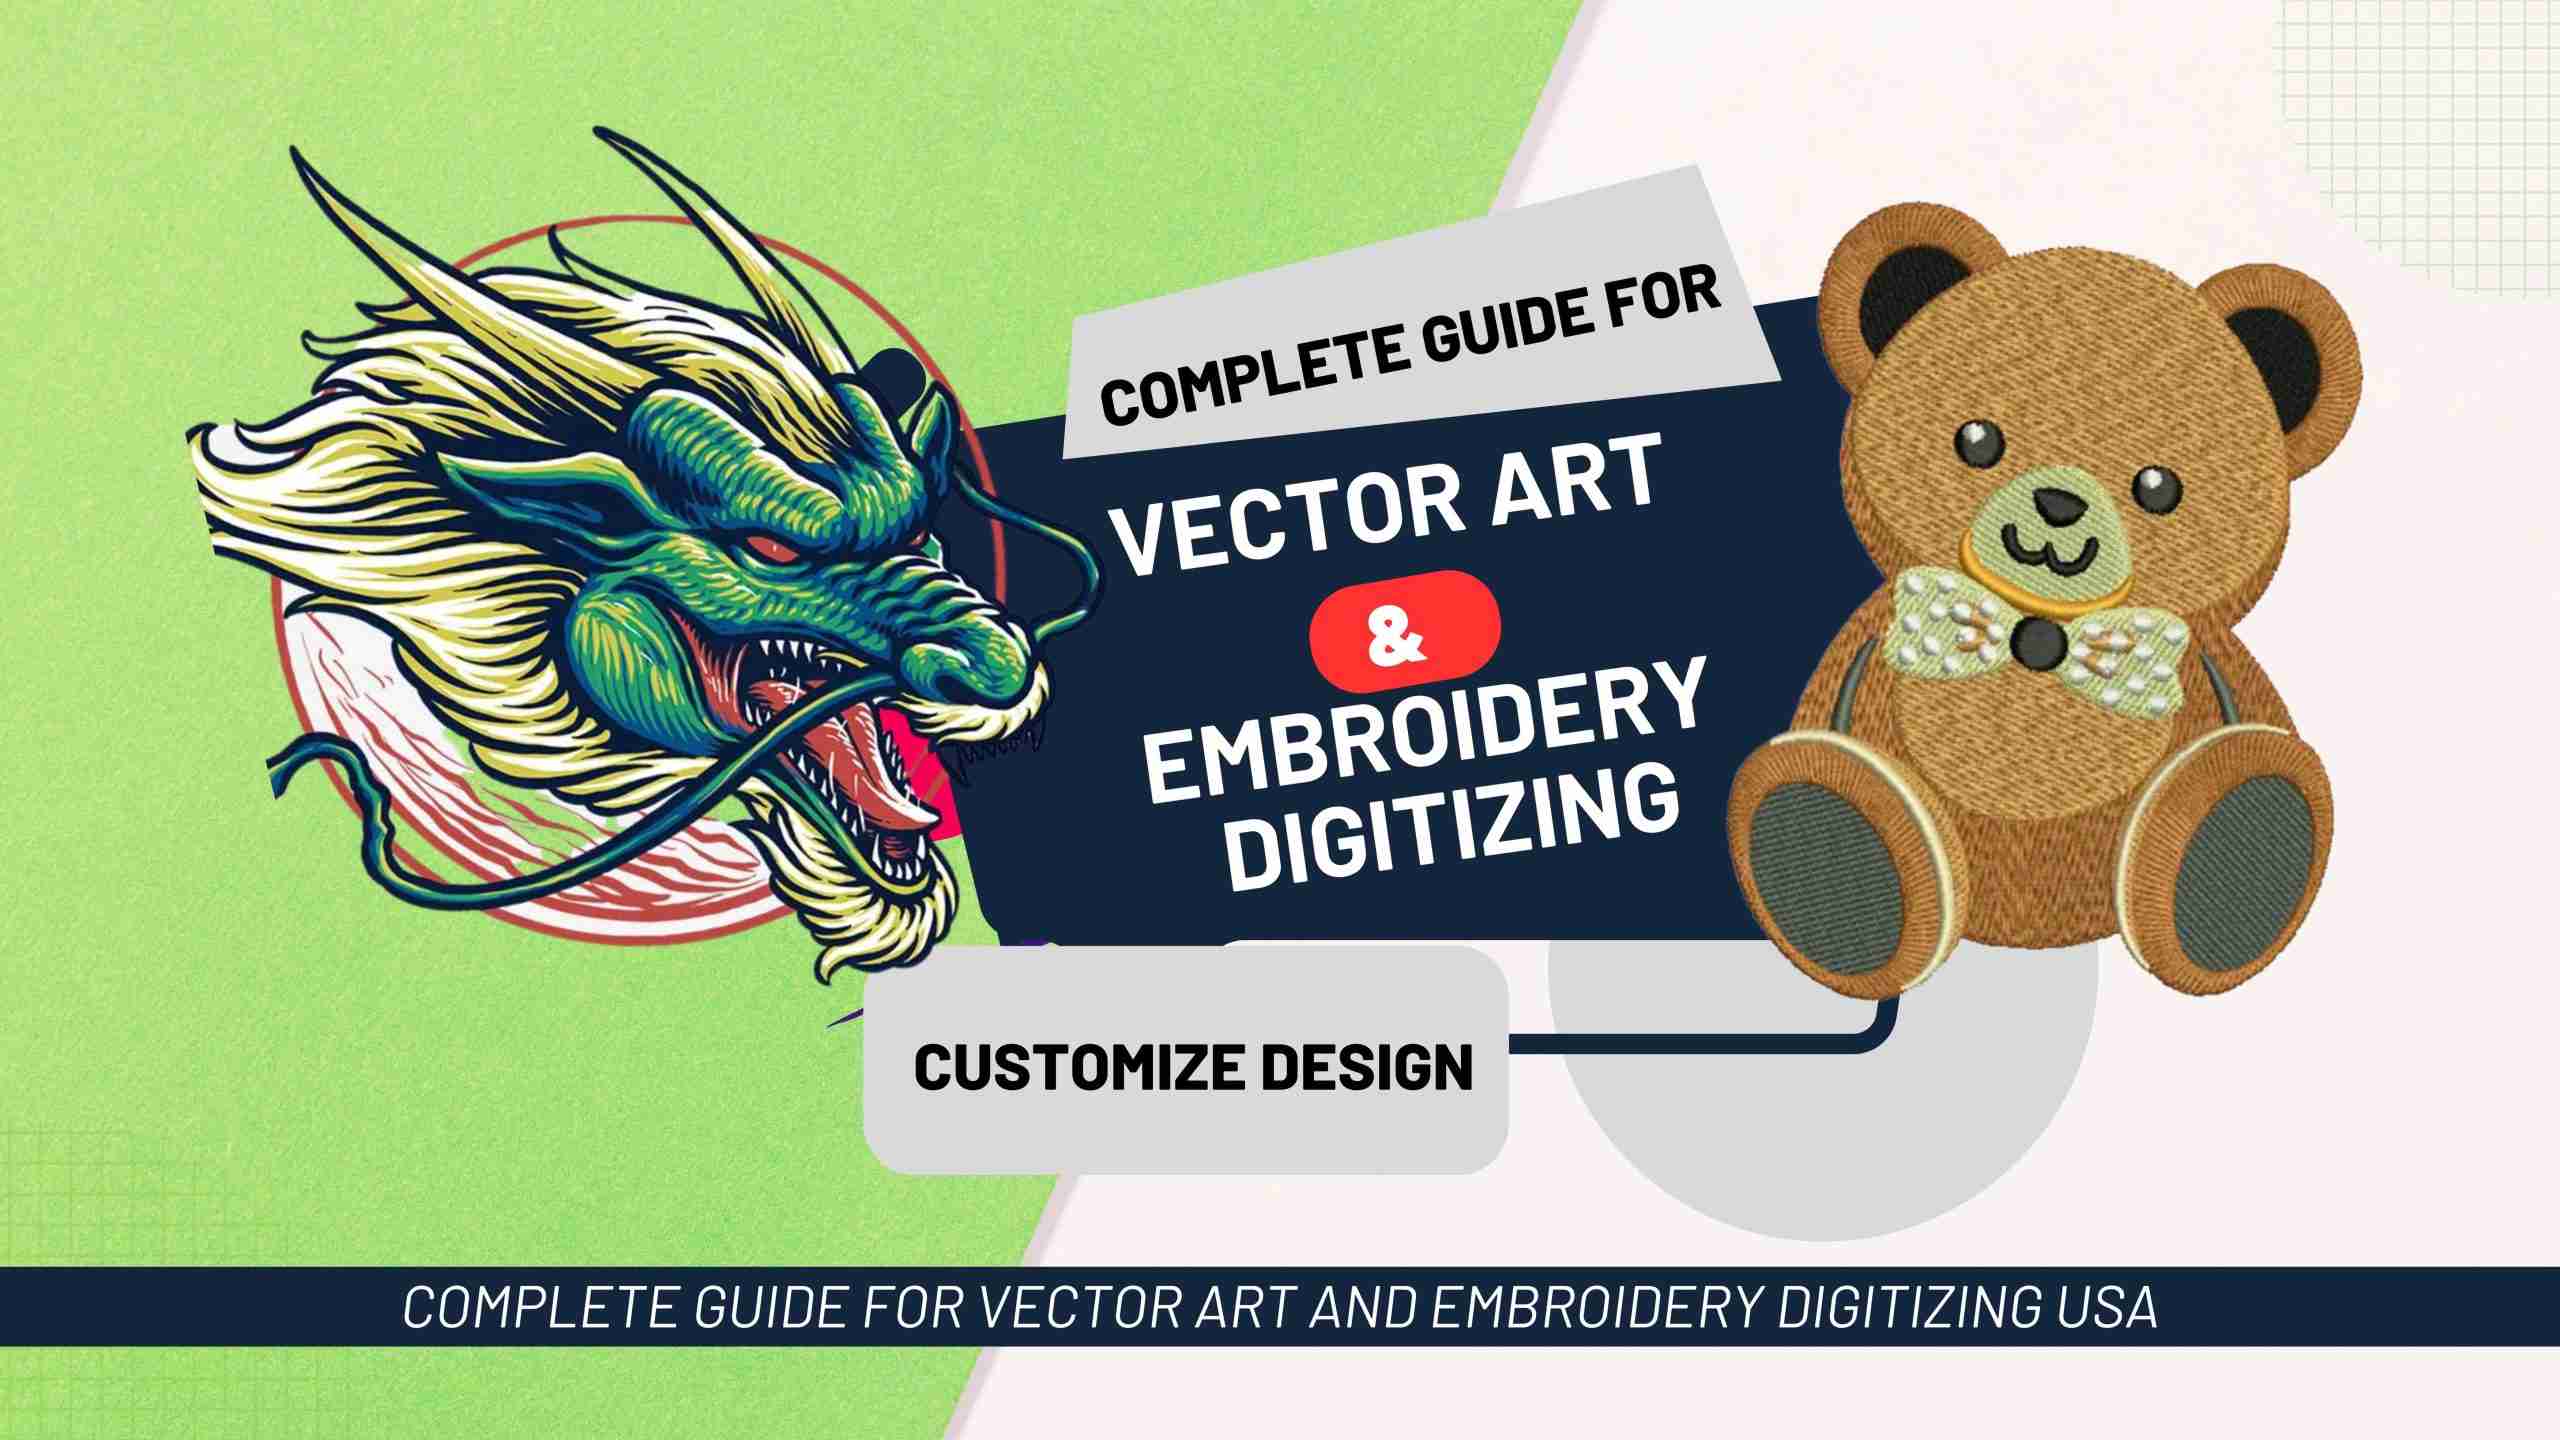
When it comes to digitizing embroidery designs for DST and PES files, there are some key techniques and tips that can help you achieve high-quality results. Here are a few techniques to consider:
- Start with a Clear and Clean Design: Before digitizing, ensure that your design is clear and clean. Remove any unnecessary elements or stray threads that might interfere with the digitizing process.
- Use Layers: Utilize layers in your digitizing software to separate different elements of your design. This allows for easier editing and customization later on.
- Choose the Right Stitch Types: Experiment with different stitch types to achieve the desired effect in your design. Satin stitches are great for solid areas, while fill stitches work well for larger areas. Be mindful of the density and stitch length for optimal results.
- Proper Underlay Stitches: Underlay stitches are important for stabilizing the fabric and providing a foundation for your design. Choose the appropriate underlay stitch type and adjust the density to ensure stability without causing distortion.
- Make Use of Run and Walk Stitches: Run stitches are great for outlining elements in your design, while walk stitches provide a smoother, more polished look. Combining these stitch types can add depth and dimension to your embroidery.
- Test and Adjust: Always test your design on a sample fabric before stitching it out on the final product. This allows you to make any necessary adjustments to the design, thread colors, or stitch settings.
- Pay Attention to Thread Colors: Choose thread colors that complement your design and fabric. Consider factors such as contrast, blending, and shading to create a visually appealing embroidery design.
By using these digitizing techniques and tips, you can create professional-looking embroidery designs that are ready to be stitched out on your embroidery machine. Remember to always practice and experiment to improve your skills and achieve the best results.
Steps to digitize embroidery designs for DST and PES files
Digitizing embroidery designs for both DST and PES file formats share a similar set of steps, with a few distinct considerations for each. Below is a streamlined summary of the process to avoid repetition:
-
Import the Design: Begin by importing your design into the embroidery software, which could be a digital image or an existing embroidery file.
-
Prepare the Design: Clean up the design by removing unnecessary elements and stray threads. Resize or rotate the design as required.
-
Create a New Digitizing File: Initiate a new digitizing file, setting the correct hoop size and choosing either DST or PES as the output format, depending on your needs.
-
Outline the Design: Using the drawing tools provided by the software, outline the design elements with a running stitch or satin stitch for the desired effect.
-
Choose Fill Stitch or Satin Stitch: Decide on the stitch type for filling in the design. Large areas typically require fill stitches, while satin stitches are suitable for detailed sections.
-
Add Underlay Stitches: Apply underlay stitches to stabilize the fabric and create a solid foundation for the embroidery, adjusting the density as needed.
-
Adjust Stitch Parameters: Fine-tune the stitch length, density, and underlay sequence to enhance the appearance and durability of the embroidery.
-
Test and Evaluate: Test the digitized design on a sample fabric and make any necessary modifications to the stitching or thread colors.
-
Save the Final Design: Save the design in the appropriate file format—DST for a broad range of embroidery machines or PES for Brother brand machines.
Always double-check settings and perform tests on various fabrics to ensure optimal results. With practice and attention to detail, you’ll efficiently create high-quality embroidery designs in both DST and PES formats.
Troubleshooting and Quality Control
As with any digital process, digitizing embroidery designs can sometimes encounter issues. Here are some common troubleshooting tips and quality control measures to ensure high-quality digitized designs:
- Thread Breaks: If you experience thread breaks during embroidery, it may be due to incorrect stitch settings or insufficient underlay stitches. Adjust the stitch length and density to prevent thread breaks.
- Stitch Density: Keep an eye on the stitch density of your design. Too many stitches in a small area can cause the fabric to pucker or distort. Adjust the density to maintain the integrity of the design.
- Tension Issues: Uneven or inconsistent tension can result in uneven stitching or puckering. Ensure your embroidery machine’s tension is properly calibrated for optimal results.
- Color Changes: Double-check the color sequence and changes in your design. If the colors are not correctly mapped or the changes are too frequent, it can affect the overall look of your design.
- Hooping: Proper hooping is crucial for achieving accurate embroidery. Make sure the fabric is taut and secure in the hoop, avoiding any wrinkles or distortions.
To gain a deeper understanding and further insights, I invite you to peruse our dedicated blog post on this topic “THE MOST COMMON EMBROIDERY MISTAKES AND HOW TO AVOID THEM“.
Quality control measures are essential for delivering impeccable embroidery designs. Here are some best practices:
- Test on Sample Fabric: Always test your digitized design on sample fabric before stitching the final project. This will help identify any issues or adjustments needed.
- Monitor Stitching Time: Pay attention to the stitching time of your design. If it is taking significantly longer than expected, it could indicate excessive stitching or unnecessary details that may affect the final result.
- Evaluate Finished Design: Once the design is stitched, carefully inspect the finished embroidery for any flaws or inconsistencies. Check for thread trimmings, loose stitches, or any other imperfections that may need correction.
By troubleshooting and implementing quality control measures, you can ensure that your digitized embroidery designs turn out beautifully and exceed customer expectations. Remember, practice makes perfect, and don’t hesitate to reach out for support or additional training resources to improve your digitizing skills.
And there you have it – your roadmap to digitizing embroidery designs for DST and PES files. Whether you’re a seasoned pro or just starting, we believe these steps will help you create stunning embroidery projects with precision and ease. At ONEmbroidery, we are committed to providing you with the resources and guidance needed to excel in the world of embroidery. Don’t forget to share your digitized masterpieces with us; we love seeing your creativity in action! Have any questions, or tips of your own? Drop us a comment – we’re all ears for your ideas and insights. Happy digitizing!

